#craftingnotcoding The Cherry Blossom Card

I was browsing the pinterest for card making ideas, and came across plenty a blog post with the theme "less is more" and I thought that I would give it a try. Sometimes simple is the way to go, and this card took 5 mins to make, it probably took me longer to take the pictures and edit them.


What you need:
1. Green colored 4 x 6 inch card
2. 3 sheets of card stock in coordinating color (min size is 3 x 6 inch)
3. Tacky Glue or your favorite adhesive.


What to do:
1. Punch out three trims in different colors using the punch.
2. Space them equal distant apart on the card.
3. Glue the trims to the card. Allow the card to dry before sending it out.

Happy Crafting!
Farhana

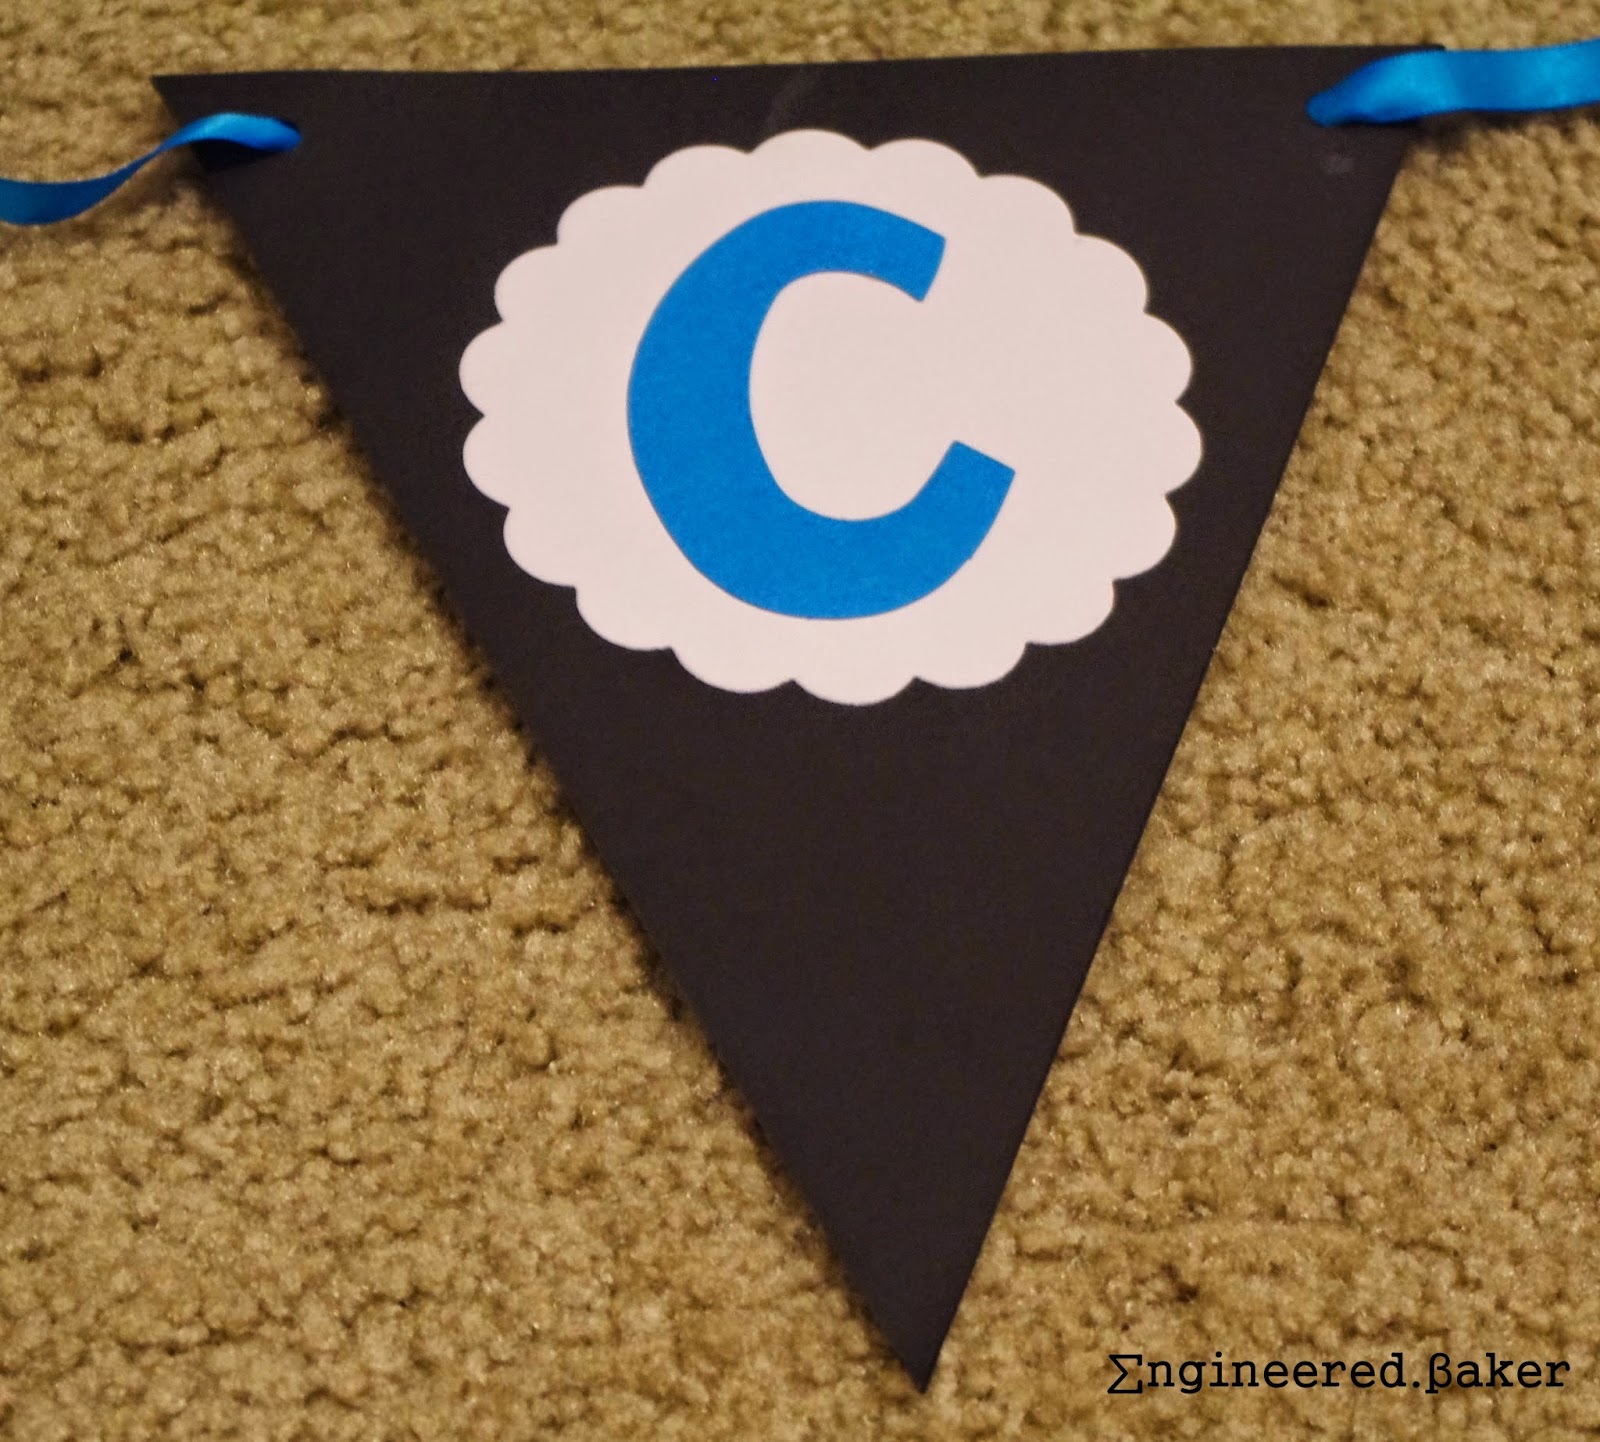
#craftingnotcoding: The CONGRATS Banner

Graduation season is coming up here in the PNW and for me that means wrapping up school work and getting ready to enjoy the summer! This year my close friend is graduating and moving away to the east coast, so I have a graduation to look forward too! And I thought that this weeks craft could be graduation themed, a congrats banner.


This is just a guideline to making a banner using the die cut center at Ben Franklin Crafts, you can change the colors to coordinate with the school colors of your graduate. You can also add someone's name, or change it out to a completely different statement all together.


This table will help you get the right amount of paper.

Die Cut
12 x 12 inch
8 x 11.5 inch
Triangle
2
1
Scalloped Circle
5-6
2-3
Letters (3 inch)
8-10
6-8


To make this exact banner you will need:
- papers in three different colors
(if using 12 x 12, then 4 sheets for the triangles + 2 sheets for the circles + 1 sheet for the letters)
(if using 8 x 11.5, then 8 sheets for the triangles + 4 sheets for the circles + 2 sheets for the letters)
- adhesive of choice
- mini punch
- ribbon or twine
- tape


Once you have your die cuts, you can use glue, double sided tape or 3D dots to layer the each pennant. Then punch whole using a mini circle punch and thread the ribbon though the triangles and re-enforce the ribbon using tape.

Your banner is ready to be hung!

Happy Crafting!
Farhana

The Fruit Kabob

So...summer officially starts June 20th (or 21sst according to some calculations) but for me it starts with Memorial Day weekend. Especially this year the weather has been amazing here in the PNW and I have been spending more time outside than in. If you are having the same awesome weather in your area and haven't had the chance to enjoy it, I suggest you make this fruit kabobs and head on out for a picnic this memorial day.


They are super easy to make, and even if you don't like baking, or just have the worst luck with it, you can still make these. Just get brownie bites on your next grocery run, along with a box of strawberries and your'll be set!


If you're a baker like me, then bake up a batch of your favourite brownies or mine. Only difference is using a mini muffin pan instead of a rectangular pan.

Once the brownies are baked and cooled, just melt out your chocolate, pour it in a zip lock bag and your ready to assemble your kabobs.

The Fruit Kabob
Idea found on Pinterest

Ingredients
1 batch the basic brownie
24 strawberries
12 marshmallows
1/2 cup chocolate chips

Extra Tools
Mini muffin pan
wooden skewers
Ziploc bag

Method
1. Bake the brownies in a mini muffin pan and cool to room temperature.
2. Wash, dry and cut the tops of the strawberries.
3. Assemble the marshmallows, strawberries and brownies on wooden skewers.
4. Melt the chocolate chips and pout into a Ziploc bag. Then cut a small hole and drizzle over your assembled fruit kabobs.
5. Allow the melted chocolate to harder before handling.

Enjoy!
Farhana

#craftingnotcoding: The Crafty Card Class [May 2014]

Looks who is back before the end of the week! I just finished up HW and thought that I would take a break and start a new series here on the blog, #craftingnotcoding. I started use this hashtag on instagram, everytime I post a picture of something I crafted instead of coding :P

This week you all get a peak into a craft card class at Ben Franklin Crafts, a local craft store that I am totally obsessed about (esp their die cut center!). I didn't even know that they had this class, or I would have gone to so many by now. My friend found it and we both signed up immediately, and it was worth it!


We came home with 5 finished cards and learnt numerous new techniques!
1. The Graduation Card


This was pre-cut by the instructor using their die cut center, and we made the tassels from embroidery floss and added more detail with a white gel pen and rhinestone.

2. The Nautical Card


This was made using a fun set of nautical themed paper perfect for a boys summer birthday (I find making boy card the most difficult). The multiple layers and pleated dollie just adds extra dimension, making it more eye catching!

3. The Embossed Card


When making this I finally got to use an embossing stencil! The embossed paper was then layered with hexagons, washi tape and rhinestones.

4. The Pastel Card


I named it pastel cause all the paper layered in this card are in pastel colors (the actual paper set is called "the market street" from my mind's eye and can be found at Ben Franklin Crafts, Impress Rubber Stamps and numerous online stores. Totally obsessed with it!). I love how the instructor included little details with the golden paper and the bakers twine.

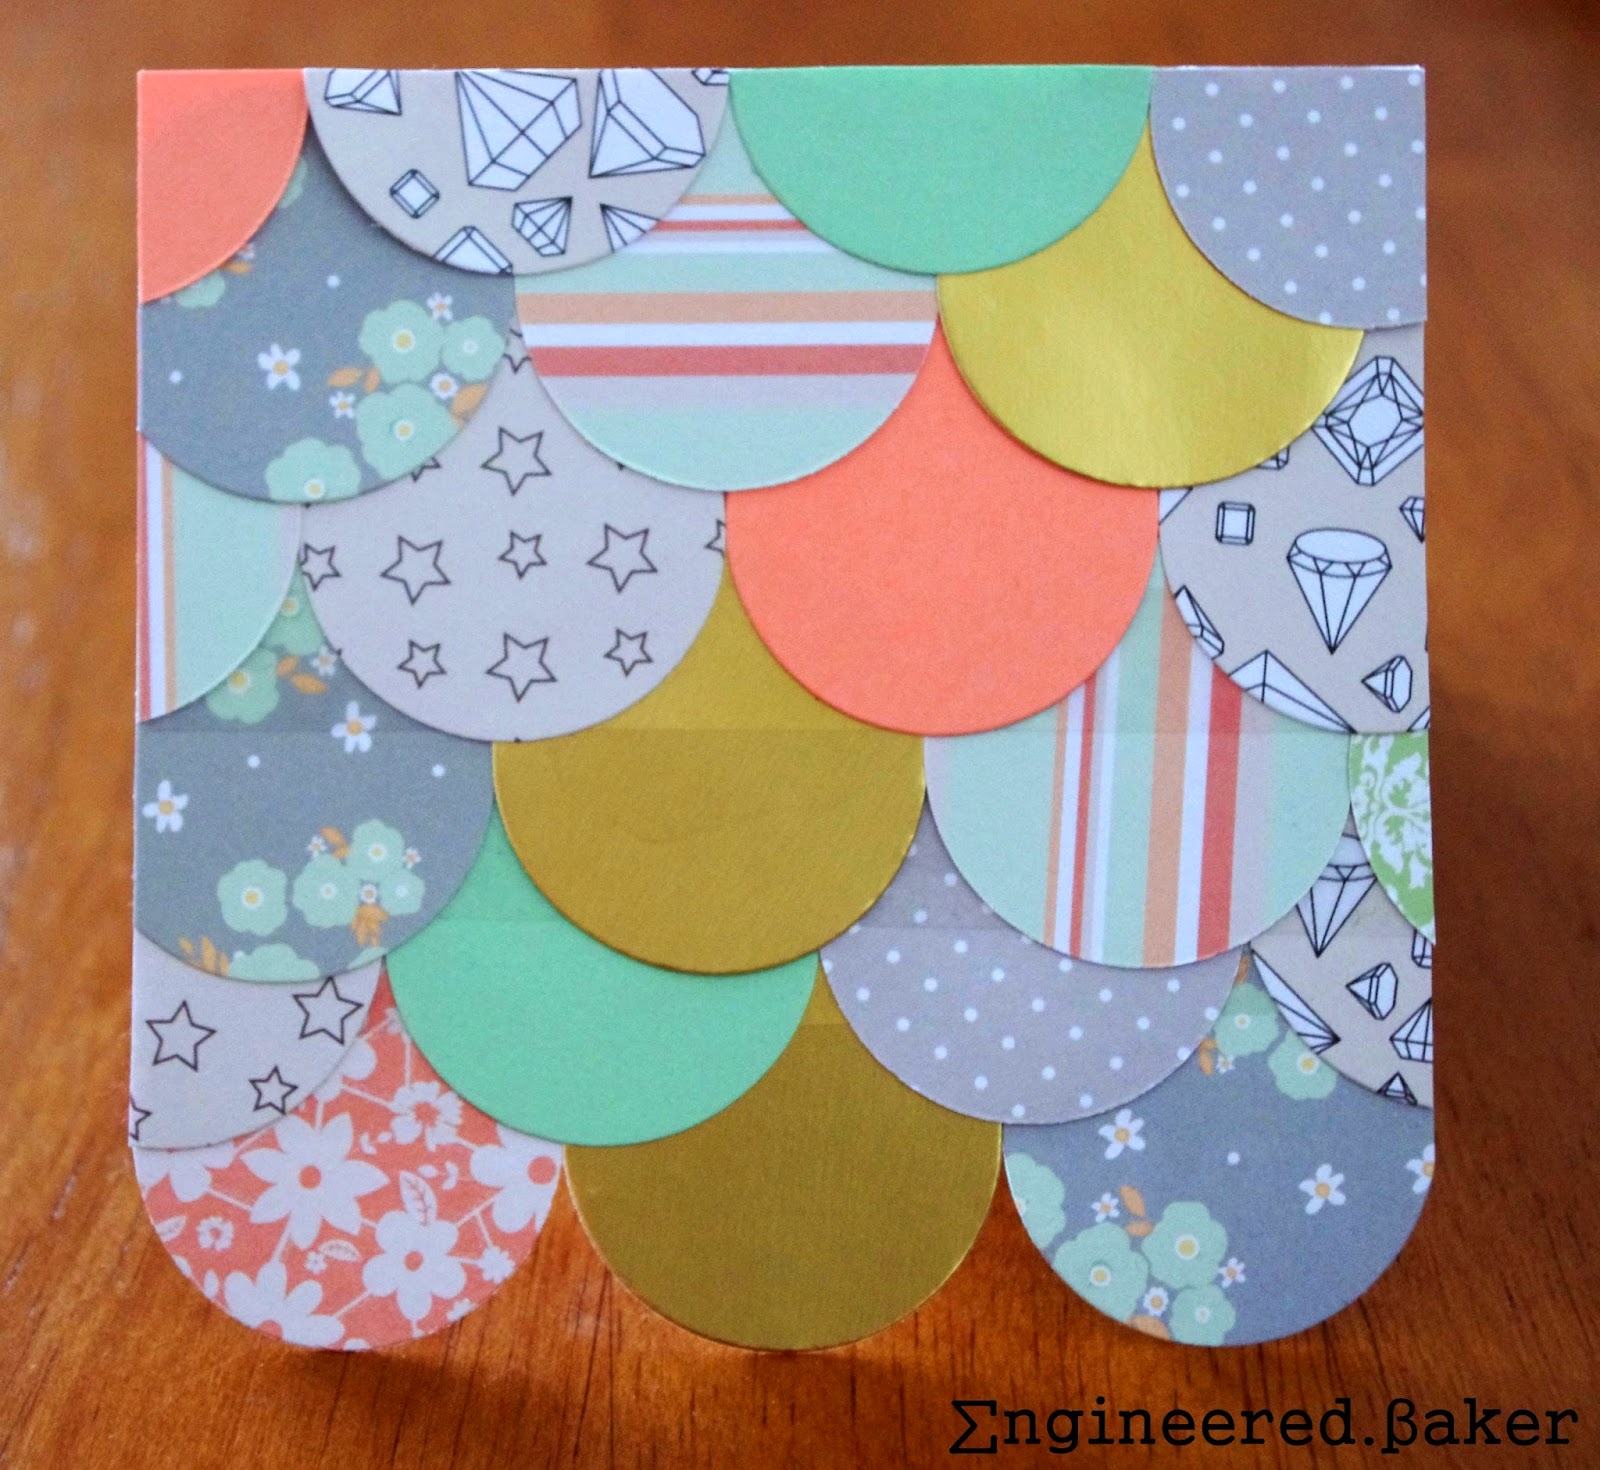
5. The Circles Card


This was probably the easiest card from a paper and tools point of view. But it was my favorite! So simple, but elegant. The colors of the paper can be changed according to theme or age.

I hope these card designs inspire you as much as they inspired me :)

Happy Crafting!
Farhana


The Very Berry Tart

What's the best part of spring for you? For me it's a whole lot of things, but the baker in me loves all the fresh fruits that show on the shelves at the grocery store. It's really hard to resist and not buy them all!


I have a very bad habit of book marking recipes, never to make them. I'm also a recipe book hoader, more about that some other time. Back to all the bookmarks on my computer, I decided a few weeks ago that I'm not going to add any more recipes to the list till I have tried a significant number of the recipes. So I started with this tart for mother's day brunch, but it can be served as a dessert on any day!

I used a combination of berries, but feel free to use a combination of any fruits that you like or happen to have picked up on your grocery trip.


I was going to use this recipe as an excuse to get a new tart pan, but it started raining and I got super lazy to go shopping and ended up making it in an 8 inch round pan and it turned out fine.

As tasty as fruit is, its also super fussy! I would recommend making the pastry crust and pastry cream ahead of time and assembling the tart right before serving.


Hope you get a chance to try it out and please do leave a comment sharing what fruit combination you tried!

The Very Berry Tart
Adopted from joyofbaking.com

Ingredients
Sweet Pastry Crust:
    1 1/2 cups all purpose flour, sifted
    1/2 cup butter, at room temperature
    1/4 cup granulated white sugar
    1 large egg, lightly beaten

Pastry Cream:
    1 1/4 cups milk (whole or 2%)
    1 tsp vanilla bean paste
    3 large egg yolks
    1/4 cup granulated white sugar
    2 Tbsp all-purpose flour
    2 Tbsp cornstarch (corn flour)

Topping:
     3 cups fruit (raspberries, blackberries, strawberries, blueberries)

Extra Tools
8 inch tart pan or round cake pan
cling/plastic wrap

Method
Sweet Pastry Crust:
1. Beat butter until pale with an electric mixer. Add sugar and beat until fluffy. Add the beaten egg, beating until just mixed.
2. Add the flour and mix just until it forms a ball.
3. Flatten the pastry into a disk, cover with plastic wrap, and refrigerate for 15-30 mins.
4. Spray an 8 - 9 inch tart pan with a removable bottom.
5. Evenly pat the chilled pastry onto the bottom and up the sides of the pan. Cover with plastic wrap and place in the freezer for about 15 minutes.
6. Preheat oven to 400* F and place rack in center of oven. Lightly prick bottom of pastry crust with the tines of a fork, and bake for 5 mins. Reduce oven temperature to 350* F and continue to bake the crust for about 15 minutes or until dry and lightly golden brown.
7. Remove from oven and place on a wire rack to cool completely before filling.

Pastry Cream:
1. Mix the sugar and egg yolks together. Sift the flour and cornstarch (corn flour) together and then add to the egg mixture, mixing until you get a smooth paste.
2. In a saucepan bring the milk and vanilla paste just to boiling. Remove from heat and add slowly to egg mixture, whisking constantly to prevent curdling.
3. Pour the egg and milk mixture back into the medium saucepan and cook over medium heat until boiling, whisking constantly. When it boils, whisk mixture constantly for another 30 - 60 seconds until it becomes thick. Remove from heat immediately. Pour into a clean bowl and immediately cover the surface with plastic wrap to prevent a skin from forming.

To Assemble Tart:
1. Remove the tart base from the pan (if baked properly and cooled well, it will slip out without a problem)
2. Spread the pastry cream onto the bottom of the tart shell. 3. Place fruit randomly on top of cream or in concentric overlapping circles, starting at the outside edge.
4.  If not serving immediately, refrigerate but bring to room temperature before serving. This fruit tart is best eaten the same day as it is assembled.

Enjoy!
Farhana


The Dark Chocolate (Bundt) Cake

As most of you know by now, I love baking and my husband loves chocolate. Which results in me experimenting with A LOT of chocolate recipes (browniescupcakes and more brownies), and this chocolate cake has become my go to recipe when I am short on time and in a rush to get out the door with a dessert to share. And now you too can whip this up just in time for Mother's Day!

This recipe is baked in a bundt pan all in one go, no need to separate into individual cups, it takes about 10 mins to put in the oven and can be simply decorated with in minutes of coming out of the oven with a quick and easy chocolate ganache. So go ahead, put it in the oven while you prep on a few other dishes and impress your mom this weekend!

If you don't have a bundt pan, you can always bake this same recipe in a 9 x 13 pyrex dish, pour the ganache over and cut it up into squares when time to serve.

One last thing about this cake, before I get to actually sharing the recipe is that it is super moist! Its the perfect amount of chocolate with coffee flavor (go ahead and use decaf if you want OR leave it out completely and just add the water only, I did it once when I was out of coffee), and if you don't think that its enough chocolate, go right ahead and throw in a handful of chocolate chips (I don't usually do that, but I have a friend who does and her cake always tastes amazing!)

The Dark Chocolate Bundt Cake
Adapted from a old family recipe
Ingredients
Cake:
Dry:   2 cup white sugar
         3/4 cup cocoa
         1 tsp baking powder
         2 tsp baking soda
         1 3/4 cup cake flour
 
Wet:  1/2 cup vegetable oil
         2 eggs
         1 cup milk
         1 tsp vanilla essence
         1 cup string black coffee (1 cup boiling water 1 tsp coffee, cooled to room temperature)

Chocolate Ganache Frosting
1/2 cup whipping cream
3.5 oz semi-sweet baking chocolate
1 Tbsp butter
Few tsp milk

extra tools:
bundt pan
sprinkles

Method
1. Preheat oven to 350*F and grease a bundt pan with a baking spray (or you can use melted butter) and
Sift flour and cocoa, then mix all dry ingredients, set aside.
2. Add all the wet ingredient, expect coffee to a mixing bowl and beat well.
3. Add cooled coffee and continue beating.
4. Gradually beat in dry ingredients, until completely mixed. The batter will be thinner than most cake batters.
5. Bake at 180*C for 55-60 mins, once the cake starts coming off the edges and/or a toothpick comes out clean.
6. Allow the cake to cool in the pan on a wire rack.
7. Heat up the whipping cream in a small saucepan on medium heat and soften the baking chocolate in the microwave.
8. Whisk together the whipping cream, melted chocolate and butter. Once well mixed, removed from stove, if too thick then add a few drops of milk.
9. Now turn the cake onto a serving dish (hold your breathe so it comes out in one piece, just kidding!) and then pour the ganache over immediately. Add sprinkles and let it stand for minimum of 30 minutes before serving.

Enjoy!
Farhana

The Lemon Bar

Winter ended, Spring started and summer might be here, but I have not blogged, sad I know. This recipe was supposed to be shared two months ago when spring started playing peek-a-boo with us, here in the PNW. Now that spring is officially here and this week temperatures have been in the mid 80s!, so this recipe is still "in season" and can be made with the fresh lemons available now :) (Plus seems like rain might be back, in that case we'll pretend that its spring inside :) )

I really like lemon bars, which is surprising as I am not a huge fan of most things sour, but I like the sweet and sour mix in the lemon bar. I have tasted homemade and store bought ones and thought that it was high time to give it a try!


After looking around the internet for a while, I decided to try one with a thicker base, cause I don't like too much of the lemon cream. And I was impressed with the results. I also has a few friends and my husbands coworkers sample it, no bad comments, only requests to share recipes. So here I am finally sharing!


I keep talking about this sourness, like I'm complaining about it! I'm really not, just pointing it out to make sure that you don't bake it, if you don't like a strong lemon flavor in your desserts.


Give it a try! Leave a comment letting me know what you thought, if you make it!

Lemon Bars
Adapted from Annie Eats
Ingredients
For the lemon cream filling:
1 cup granulated sugar
zest of 2 large lemons
4 large eggs, lightly beaten
1/2 cup freshly squeezed lemon juice (juice from ~2 large lemons)
1 cup unsalted butter, at room temperature and sliced

For the dough:
1 cup granulated sugar
¾ tsp. baking powder
2 cups all-purpose flour
Pinch of salt
10½ tbsp. cold, unsalted butter cut into small pieces
1 large egg, beaten

extra tools:
aluminum foil
8 x 8 baking dish
heatproof bowl
small pot (to create a double broiler)

Method
Making the lemon cream:
1. Zest the lemons on to the sugar, and combine (make sure to do this in a heatproof bowl, in preparation for steps to come). Whisk in the little beaten eggs (the mixture will start to thicken). Lastly, whisk in the lemon juice.
2. Bring a pot/saucepan of water to boiling, and place the waterproof bowl on top. Stir the mixture occasionally while it thickens. (This part take about twenty mins :( ) The mixture will reduce to about half of its original quantity. Remove from the stove and let the lemon cream cool. (about 10-15 mins)
3. Once the lemon cream has cooled, beat in the butter a couple of slices at a time. Once all the butter are been added, set the mixture aside.
4. Preheat oven to 350*F and line a 8 x 8 baking pan with foil.
Making the crust
5. In a medium bowl, mix the sugar, flour and baking powder together with a fork. Add the egg and butter to the dry ingredients, and mix with a pastry blender. The mixture will be crumbly.
6. Spread the crust dough onto the lined pan and flatten with the bottom of smaller measuring cup. Pour in the lemon cream and spread evenly with a spatula.
7. Bake for about 40-50 minutes, until the center is just set.  Remove to a wire rack and let cool to room temperature. Cover and refrigerate overnight.
8. Slice and serve!


Enjoy!
Farhana