Decorating Idea: The Jack-o-lantern Bundt Cake

Recently I have been trying to use my camera to take better pictures to share here on the blog. But I have a folder full of pictures that I still want to share! That along with the fact that I can never have post on a timely manner with holidays and celebrations, I decided that I was going to post this decorating idea even though the pictures aren't the prettiest.


This is actually a really simple idea, and there is still time to make it for your Halloween party. I'd probably make it again, if I were to host a Halloween party, but I'm not that big on Halloween.


The "pumpkin" part is a bundt cake and I took just enough batter to bake one cupcake to make the stem. You don't have to bake the cupcake on its own, save time by baking it next to the bundt pan, in a stand alone baking cup.


Go ahead and use some store bought frosting and cake mix to speed up the process!


Jack-o-Latern Bundt Cake

What you'll need
1 bundt cake and 1 cup cake (you can find a vanilla recipe here and chocolate recipe here)
your favorite vanilla frosting
orange, brown and green food color
Wilton Black Gel Frosting
Wilton No. 233 icing tip
icing bag

What to do:
1. Once the bundt cake is cool, tint 3/4 of the frosting with orange food color. Cover the whole bundt cake with frosting.
2. Turn the cupcake upside down and stick it in the middle of the bundt pan to cover the hole. Cover it with some frosting tinted brown.
3. Tint the remaining frosting green, fill a icing bag fitted with a #233. Create grass on the bottom edge of the cake.
4. Add eyes and a mouth using the black gel.

Enjoy!
Farhana

The Pumpkin Cake Cookie

I've moved a lot growing up. As a result I made a lot of friends, some were forgotten, some drifted away and some hung around through all my craziness.


Then I moved to Seattle, and I stopped moving, but that didn't stop my friends from moving. Then I met Mary from Mary's Kitchen Diaries, she got married and didn't move! Despite our ever clashing schedules, we still get to hang out, craft and share recipes! I love how much she loves to cook!


And today, I want to take a minute to wish her and her husband a very happy first anniversary! I still can't believe its been a year, feels like yesterday that I was sitting in class and trying to figure out what to wear and WFH (working from home) to be able to make it on time to events!


And here on the blog, I decided to make a recipe from her blog, a pumpkin dessert, its fall after all! She made it for our latest pinterest party and I had to remake it. She calls it Pumpkin Cookie, but my husband things that it taste slightly like a cake, so I changed the name :)


I think that you should go and make this NOW. Cause its so easy and the perfect start to fall baking!


The Pumpkin Cake Cookie

Adapted from Mary's Kitchen Diaries

Ingredients

for the cake
1/2 cup (1 stick) margarine, room temperature
6 Tbsp butter, room temperature
1 cup granulated white sugar
1 cup pumpkin puree (I used canned)
1 egg
1 tsp pumpkin emulsion
1 tsp baking soda
1 1/2 tsp ground cinnamon
1 tsp pumpkin spice
1/4 tsp ground nutmeg
2 1/4 cup flour

for the frosting
2 Tbsp butter, at room temperature
4 oz cream cheese, at room temperature
1 cup powdered sugar, sifted
2 Tbsp milk
1/4 tsp orange food color
fall theme sprinkles

Method
1. Preheat oven to 350*F and line two cookie sheets with parchment paper.
2. Beat margarine, butter and sugar together for a minute.
3. Add egg and emulsion and continue to beat for another minute.
4. Sift all dry ingredients together and add to wet ingredients. Beat until just mixed.
5. Drop dollops of batter onto the baking sheets and bake for 15 mins, till the cookie does not stick to the bottom of the pan anymore.
6. While the cookies cool, beat the butter and cream cheese together for the frosting.
7. Add in the powdered sugar, beat until mixed scraping the edges of the bowl.
8. Add in milk and tint with food color. This frosting will be a bit thinner than the usual cake frosting.
9. Once the cookies have cooled, frost with an offset spatula and top with some sprinkles.

Note: cookies can be served without frosting, they taste good plain too :-)

Yeilds: ~24 large cookies

 Enjoy!
Farhana 

#footballsunday 6.0 : Seahawks Football Banner

What! Football post and its not even Sunday? Let's just say that I have a special post planned for tomorrow, something that has to be posted on Sunday, this Sunday. So I thought that I would share my dose of football early this week.


I was down in Portland in September and made my way to craft warehouse, its part of my Portland trip ritual. And as always came out with a bunch of random stuff, including a stack of fall and football themed 12 x 12 sheets for 10c each! Yes, the doubled sided ones!


I used the fall ones in this paper star post a few weeks ago and remembered I had this sheet of paper and thought, wouldn't it look cute if I cut it up and made a banner!

Enough chit chat, here's what you need


- football themed paper
- ribbon (I used blue and green cause of the Seahawks)
- tape
- scissors or paper trimmer
- circle hole punch

What to to:
1. Cut the paper up.
2. Punch holes.
3. Thread the ribbon.
4. Hang it up and watch the game!
5. The footballs on the edges are cut using die #15 from Ben Franklin Craft and Frames.


Locally, Ben Franklin Craft and Frames has a fun collection of football and Seahawk themed papers and craft supplies.

Go Hawks!
Farhana

Travel Tuesday Vol. 1 : Hiking Mailbox Peak

So my friend suggested that I blog pictures of my travels. I have been fortunate enough to travel quite a bit, and also happen to live in an amazing part of the world, where you could spend a lifetime exploring your own backyard and not get bored!

The infamous "Mailbox" box 
While I work on sorting and editting the 2000+ pictures that I took on my most recent SW road trip, I'll share a few pictures from my camera phone of the toughest hike I have ever done IN MY LIFE.

Mt Rainier rising over the Snoqualmine Peaks
Hiking Mailbox Peak is highly regarded in the NW, as it is one of the toughest hikes in the area! Hiking up 4000 ft in less than 3 miles, is not difficult, it is grueling and painful. But I did it and proud of myself for it.

Looking South to Rattlesnake lake and ledge
I was talking to a friend and saying how it was a mistake, she corrected me and said it is an accomplishment!
Another look at Mt Rainier
Will I do it again? Probably on the "longer" new trail, which I took down as there is no way I was going to come down the way I went up!
Mt Baker peaking over the Snoquamine and North Cascade Mountains
But as you can see from the pictures, the peak provides a 360 degree view of the Pueget Sound, you can see everything from Rainier to Baker to the Olympics. Unfortunately I did not take my DSLR and thus my pictures did not capture it all. I saw Bellevue and Seattle DT from up there too!

Mt Si
Details from my hike:
2.5 miles up hill in about 4 hours (yes, took that long!)
~6 miles down in 4 hours

One last look at Mt Rainier
For more information and other reviews, check out the WTA page.

happy travels!
Farhana

#craftingnotcoding: The Crafty Card Class [September 2014]

Don't I wish my schedule allowed me to take this class at Ben Franklin crafts and frames! And don't I also wish that I would be able to blog more frequently! Oh well, I'm here now :)

When Rachael said that Colleen was good, she wasn't joking. She used her cards to smoothly transition us into fall  with some Halloween themes cards. Not into Halloween? Well there are other cards that you might want to to make from these.


I can't wait to recreate these cards, and also can't wait for more creations from Colleen. (Check out her Facebook page)

1. The 'Spooky Love' card
Its the sentiment on the card just the cutest!


2. The "Believe" Card


Couldn't think of a more creative name! But isn't the shape of this card so cute! Gives you an excuse to make an envelope using the Envelope Punch Out Board.

3. The 'Doilie Thank You' card


The doilie was tea stained to match the craft paper background! How creative :).

4. The 'Hawaii' card


I can't wait to get my hands on an embosser so that I can make this type of card all the time! Love the Hawaii theme.

5. The 'happy birthday' card


Just cause its fall doesn't mean we can't play with bright colors! This is prefect for a birthday of any age.

If you are local and free from 11-1 on Friday sign up for this class, its awesome! Can't wait to see October's creations.

Happy Crafting!
Farhana   

#footballsunday 5.0 : Seahawks "Pinktober" Manicure

Oh my, Seahawks! The referees really have it out for you. Today's game was so close! Oh well, there is always next time :)


In other news, Seattle's weather was amazing today! What did I do? Relaxed and did my nails and worked on the blog, homework can wait, right?


Here's the colours I used to create this look:


But you can use any blue, green, pink, white and silver from your collection!

I also added in a little pink in honor of October and breast cancer awareness.

Share your Seahawks manicures on instagram and tag me, I'd love to see your ideas! (@hanasarker)

Go Hawks!
Farhana


Throwback Thursday 1.0 : The "Bangladesh Flag" Cake

While sorting my pictures on computer, I came across a folder full of pictures from way back in the day. Pictures of first baking experiences!


So I thought that I should share with them to show everyone out there, that I too started somewhere to. Perfection (which I am really far away from) takes practice.


This cake is from the one time that I tried to write Bangla in icing!


Enjoy!
Farhana

#craftingnotcoding: Paper Star

Somehow with the end of summer and the start of classes, the blog is taking a back seat again. Unfortunately no more promises of posts and no scheduling, I'll just pop in when I get a chance, and hope that I'll be back at smaller intervals.

I found a picture on Pinterest and after a bit of searching I figured out how to make this Paper Star, when I sent a picture to a friend, she said that it would be a perfect craft for our Fall Pinterest Party. So I decided to sit down and write up this blog post before the party, so that everyone knows what we are making!


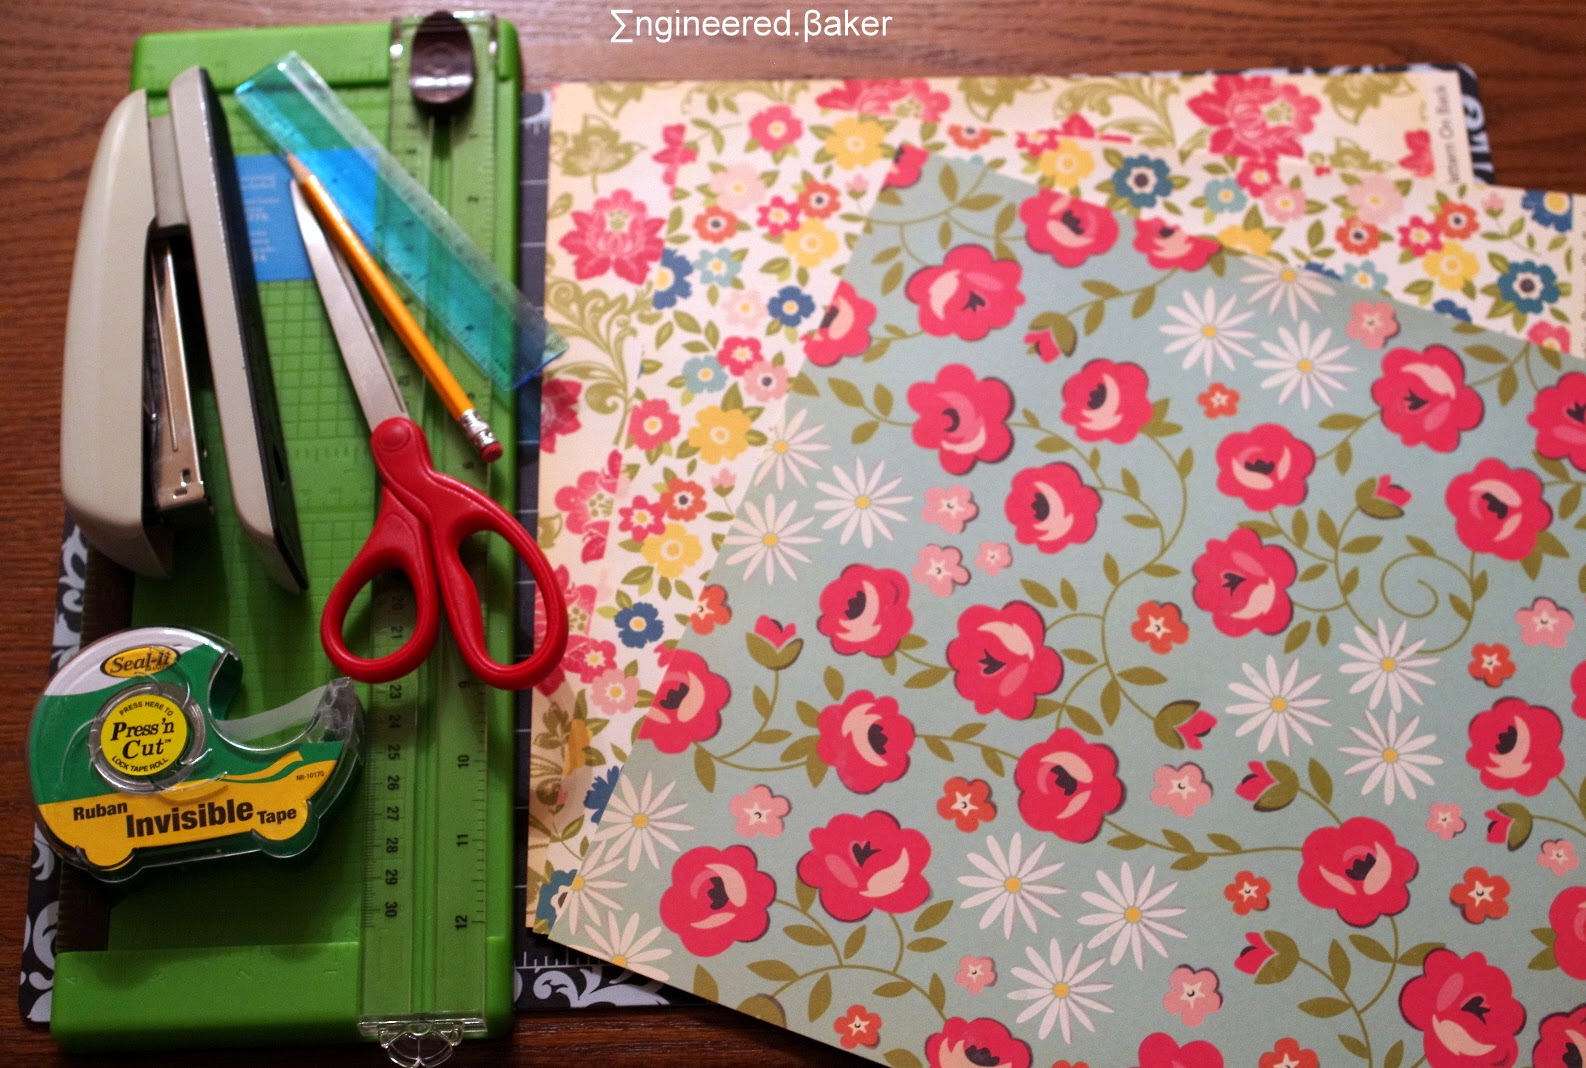
What you need:


- 3 sheets of double sided 12 x 12 scrapbook paper (you will get two completed stars)
- paper trimmer
- tape
- stapler
- scissors
- pencil
- ruler

What to do:
1. Using the paper trimmer, cut the three sheets of paper into 12 6 x 6 inch squares. (You will only need 6 sheets for one star).


2. Fold one of the squares in half.


3. Then in half again.


4. Mark the folded triangle to cut the strips.
( my diagonals were about 1.5 cm apart and the I cut till 1 cm on the edge)


5. Cut along the diagonals till you reach the line parallel to the edge. The open up the folds.


6. Take two opposite triangle corners and tape it together.


7. Repeat step (6), but tape the edges on alternate sides, until all the corners are done.


8. Repeat step (2) thru (7) for the other five sheets.


9. Take two of the star edges and staple them together.


10. Then staple the top corner together.


11. Repeat step (9) and (10) for the remaining four pieces. Stapling the last piece is a bit tricky, the smaller the stapler, the easier.

(Just realized when I was about to click publish, this is my 50th post!)


{update: Linked up to yesterdayontuesday.com, come on over an check out a ton of other crafts!}
Happy Crafting!
Farhana   

#footballsunday 4.0 : Seahawks (Football) Cupcake Liners and Toppers

Hope everyone had an awesome Eid with friends, family and lots of food! I know I did :) Now, that all of that is over, I'm trying to get back into my regular schedule, starting with catching up on Seahawks posts! We are in week five, and I'm counting down the days to this coming weekend when I get watch the game live! Can't wait!!

This week you can head down to Ben Franklin Crafts and Frames and make these super easy cupcake liners and toppers to decorate your cupcakes. (Not a baker, just use them on store bought cupcakes to add a personal touch :) )


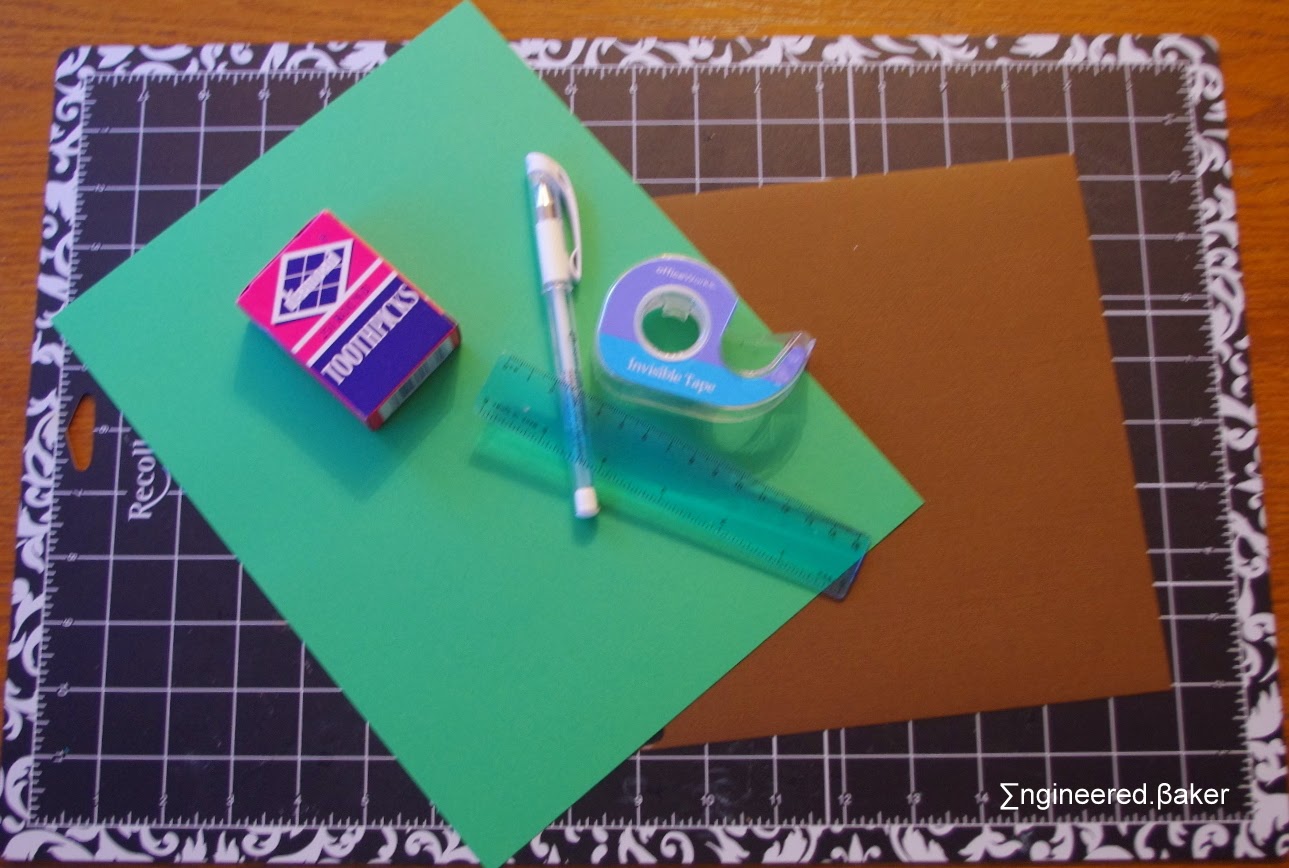
What you need:


- one 8 x 11 1/2 sheet of textured brown paper
- three 8 x 11 1/2 sheets of green paper
- toothpicks
- tape
- ruler
- white ink pen or pencil

What to do:
1. Die cut the footballs using die J151 and the cupcakes liners using die 528, you will one need a third sheet of paper for 12 footballs and one 8 x 11.5 sheet can be used to cut 4 cupcake liners.


2. Once you have your cutouts, highlight the footballs with the white pen.


3. Tape a toothpick to the back of the footballs.


4. Using the ruler and white pen, draw lines on the green liners and then label with yard line numbers.


5. You're ready to decorate your cupcakes!

Check out the page I created for more football themed desserts and crafts!

Go Hawks!
Farhana