Graduation season is coming up here in the PNW and for me that means wrapping up school work and getting ready to enjoy the summer! This year my close friend is graduating and moving away to the east coast, so I have a graduation to look forward too! And I thought that this weeks craft could be graduation themed, a congrats banner.

This is just a guideline to making a banner using the die cut center at Ben Franklin Crafts, you can change the colors to coordinate with the school colors of your graduate. You can also add someone's name, or change it out to a completely different statement all together.

This table will help you get the right amount of paper.
To make this exact banner you will need:
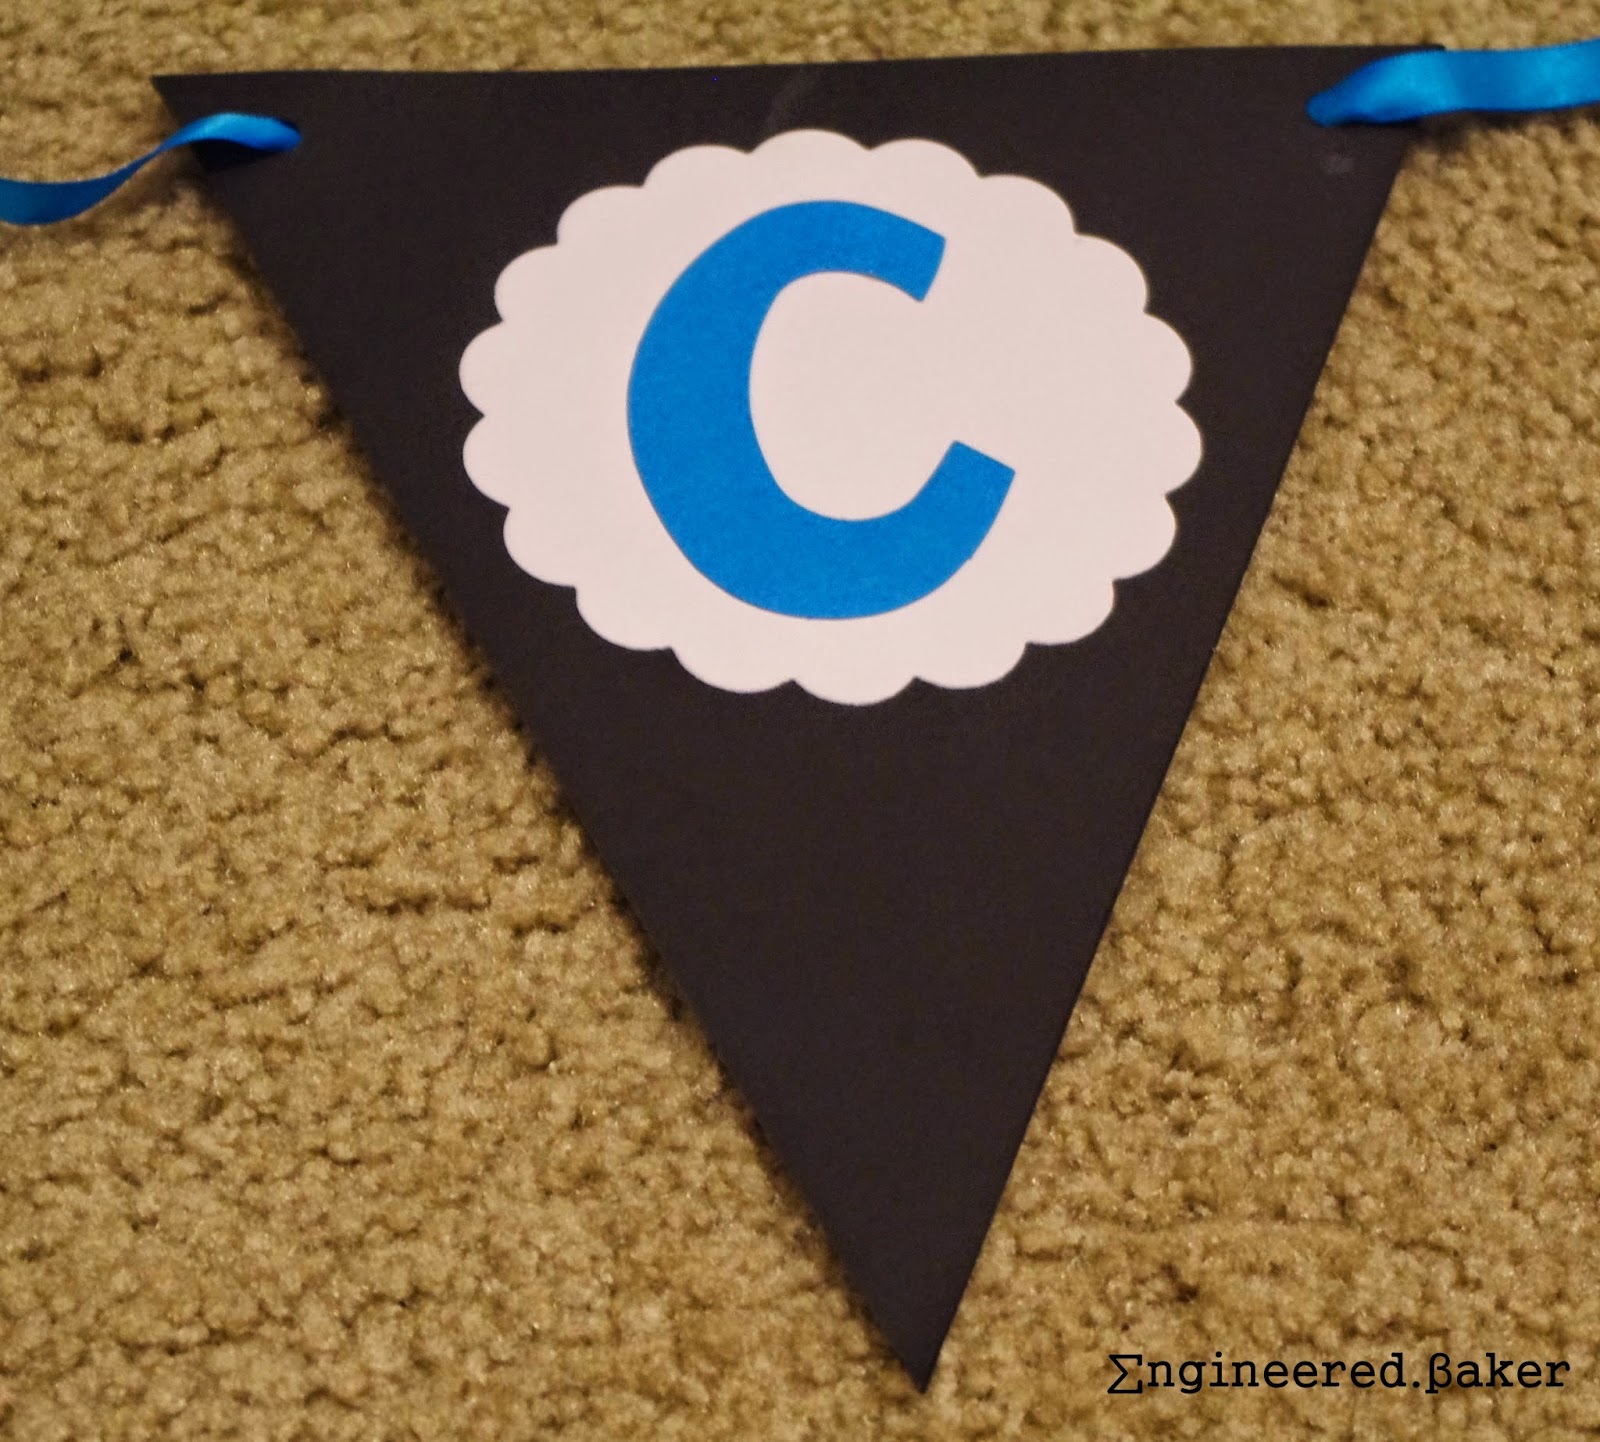
Once you have your die cuts, you can use glue, double sided tape or 3D dots to layer the each pennant. Then punch whole using a mini circle punch and thread the ribbon though the triangles and re-enforce the ribbon using tape.
This table will help you get the right amount of paper.
Die
Cut
|
12
x 12 inch
|
8
x 11.5 inch
|
Triangle
|
2
|
1
|
Scalloped Circle
|
5-6
|
2-3
|
Letters (3 inch)
|
8-10
|
6-8
|
- papers in three different colors
(if using 12 x 12, then 4 sheets for the triangles + 2 sheets for the circles + 1 sheet for the letters)
(if using 8 x 11.5, then 8 sheets for the triangles + 4 sheets for the circles + 2 sheets for the letters)
- adhesive of choice
- mini punch
- ribbon or twine
- tape
Your banner is ready to be hung!
nice :)
ReplyDelete