Somehow with the end of summer and the start of classes, the blog is taking a back seat again. Unfortunately no more promises of posts and no scheduling, I'll just pop in when I get a chance, and hope that I'll be back at smaller intervals.

I found a picture on Pinterest and after a bit of searching I figured out how to make this Paper Star, when I sent a picture to a friend, she said that it would be a perfect craft for our Fall Pinterest Party. So I decided to sit down and write up this blog post before the party, so that everyone knows what we are making!
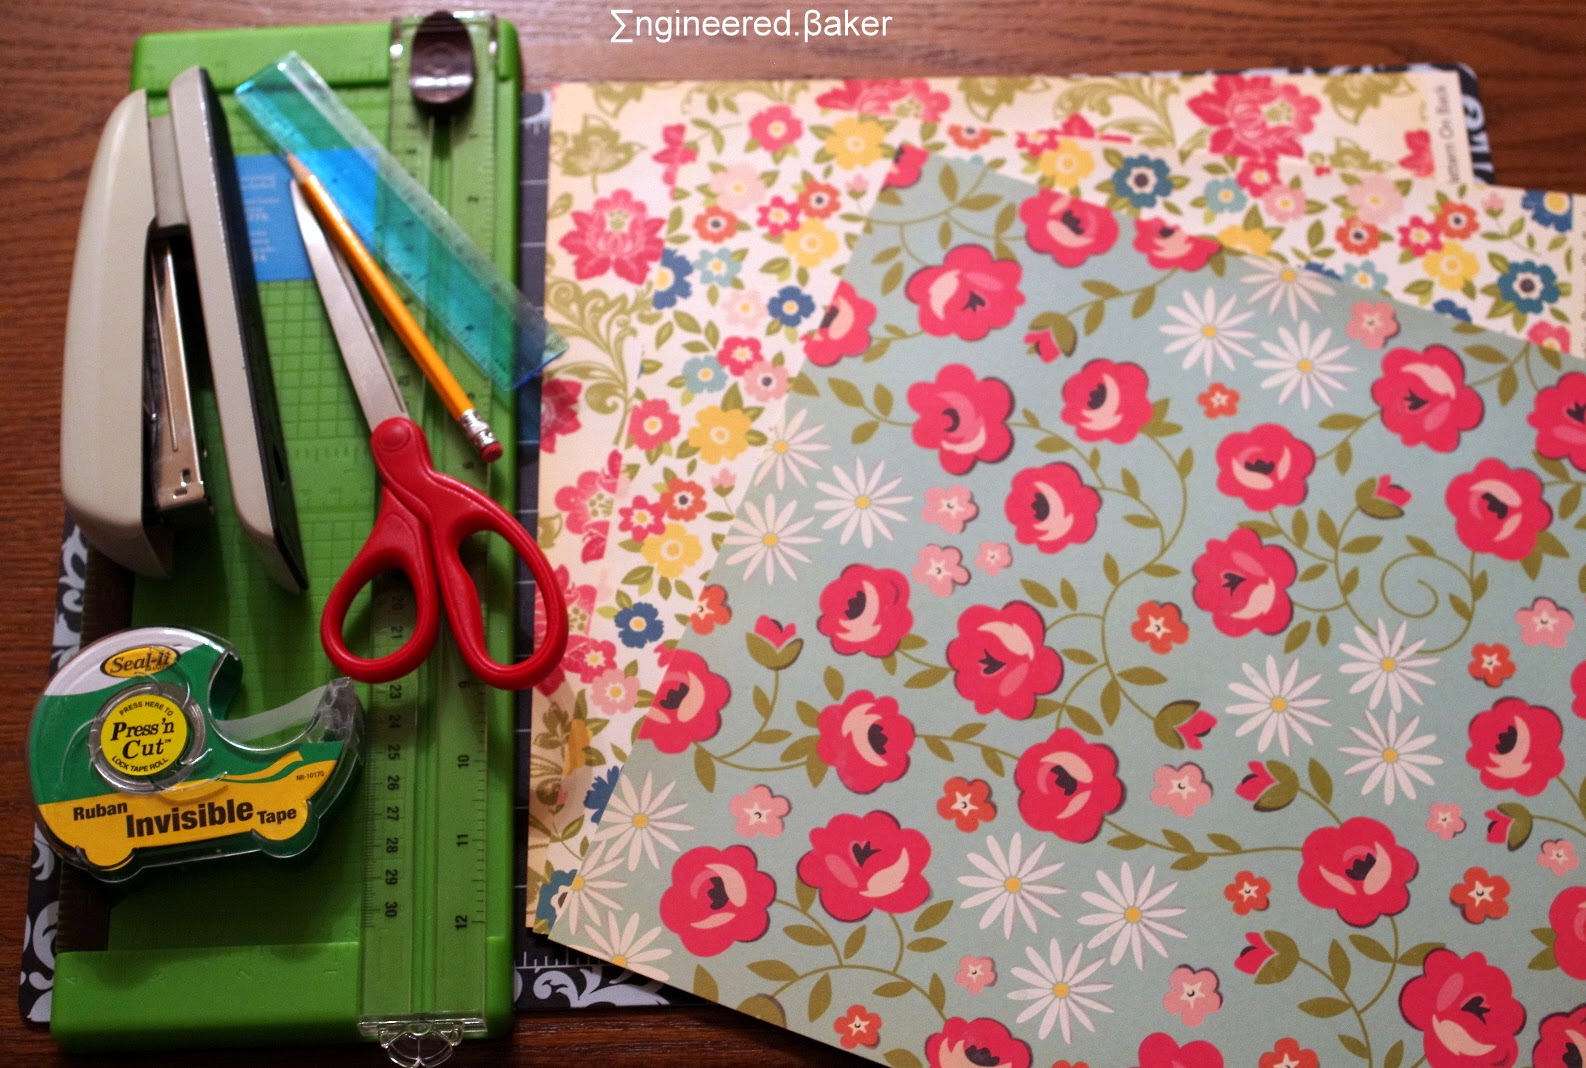
What you need:
- 3 sheets of double sided 12 x 12 scrapbook paper (you will get two completed stars)
- paper trimmer
- tape
- stapler
- scissors
- pencil
- ruler
- paper trimmer
- tape
- stapler
- scissors
- pencil
- ruler
What to do:
1. Using the paper trimmer, cut the three sheets of paper into 12 6 x 6 inch squares. (You will only need 6 sheets for one star).

2. Fold one of the squares in half.

3. Then in half again.

4. Mark the folded triangle to cut the strips.
( my diagonals were about 1.5 cm apart and the I cut till 1 cm on the edge)

5. Cut along the diagonals till you reach the line parallel to the edge. The open up the folds.

6. Take two opposite triangle corners and tape it together.

7. Repeat step (6), but tape the edges on alternate sides, until all the corners are done.

2. Fold one of the squares in half.
3. Then in half again.
4. Mark the folded triangle to cut the strips.
( my diagonals were about 1.5 cm apart and the I cut till 1 cm on the edge)
5. Cut along the diagonals till you reach the line parallel to the edge. The open up the folds.
6. Take two opposite triangle corners and tape it together.
7. Repeat step (6), but tape the edges on alternate sides, until all the corners are done.
8. Repeat step (2) thru (7) for the other five sheets.

9. Take two of the star edges and staple them together.

10. Then staple the top corner together.

11. Repeat step (9) and (10) for the remaining four pieces. Stapling the last piece is a bit tricky, the smaller the stapler, the easier.
(Just realized when I was about to click publish, this is my 50th post!)

{update: Linked up to yesterdayontuesday.com, come on over an check out a ton of other crafts!}
9. Take two of the star edges and staple them together.
10. Then staple the top corner together.
11. Repeat step (9) and (10) for the remaining four pieces. Stapling the last piece is a bit tricky, the smaller the stapler, the easier.
(Just realized when I was about to click publish, this is my 50th post!)
{update: Linked up to yesterdayontuesday.com, come on over an check out a ton of other crafts!}
Happy Crafting!
Farhana
Such a clear tutorial for the star. I will try it tonight and love the papers!
ReplyDeleteThanks for the compliment! Send me a picture when you make it :)
Delete