Showing posts sorted by relevance for query eid. Sort by date Show all posts

The Stenciled Eid Cookies

Sometimes the precise baking recipes yield perfect results, sometimes it doesn't. Sometimes ideas as perfect as are in your head, they just don't work out practically. That's what happened to me over the past week as I was playing around with a cookie cutter set that Deenna of Salaam Design was so generous and sent me a LONG time ago!


Maybe it was the heat wave, maybe it was my low patience for baking that I have during Ramadan, but none of my "fancy" ideas worked out! But fortunately third time is a charm!! Cause once I stuck to my go-to cookie recipe and my new found love for stencils, I FINALLY got presentable, shareable and postable (yes, I just made that word up) results!


So, took a few pictures and finally getting to writing out this post! Before getting to the how too, I thought that I would point out that the cookie cutters are on sale and Salaam Design uses priority shipping so you can hint to your loved one about your Eid gift :D


Back to the cookies, as I mentioned a few lines ago, I used my go-to cookie recipe and along with it my easy peasy royal icing recipe tinted with Americolor Super Red. I recently did a post on cookie stenciling, so just going to direct you there for the how to's, so point in reinventing the wheel, right? The link to that post can be found here.


Lastly, the stencils that I used are from Once Upon an Eid and The Cookie Countess. I have another post in the works using the Eid Stencils, hopefully I will get a chance to share them ASAP!


Have you started your Eid baking? This is my first batch of cookies, and I know that I have to make a ton more Friday! Please leave me a comment with a link to your Eid baking ideas!

More Eid baking and crafting ideas can be found here.

Enjoy!
Farhana

Don't forget, caring is sharing!

The "Eid" Fondant Cupcake Toppers

A super late Ramadan Mubarak to all of you. You would think with all the free time that I have, I would be able to blog more regularly. Seems not! With my parents in town and awesome weather, I've been having a hard time getting into the kitchen and sitting down at my craft table, but once I got With a Spin's cookie cutters, I couldn't wait to get to the kitchen quick enough! (I would run to my craft table, but that is a huge mess, so craft projects have to wait :) )


Lail designed the cutest cookie cutters and was kind enough to send me a set to play with! I am so glad that I came across her blog and also got to met her too! 


Ramadan is my favorite time of the year, all the family time, sitting down for meals together, shopping and crafting for Eid and most of all making all kinds of themed goodies! Stay tuned as cookies are coming your way, but in the meanwhile enjoy these fondant cupcake toppers. 


I was not a fan of fondant, but after I started playing with it a while back, I came to like it. There is quite a bit of fun stuff that you can do with it. Remember the "12" cupcake toppers, whose excited about Football season coming up, but till then I have Eid goodies to keep me busy :)


The best part of fondant toppers is that you can make them way ahead of time and if you get busy, then you can just add them to store bought cupcakes at the last minute!


Did you see the mistake I made with the "Mubarak". I only noticed while I was taking the pictures, and didn't want to go back and start again. Plus its okay if everything is not perfect!


FYI : With a Spin is offering free shipping till 4th July in the USA.

Eid Fondant Cupcake

Ingredients
white fondant
fondant roller with 1/8th inch markers
With a Spin's star and crescent cookie cutter
red food marker
message cookie cutter
wax paper

Method

  1.  Roll out the fondant to 1/8th inch thick and cut it out using the star and crescent cutters.
  2. Spell out "Eid" and stamp the star cutouts and "Mubarak" on the crescent, just make sure to stamp it the right way! 
  3. Let the cutouts air dry on wax paper for a couple of hours, then highlight the text with a food marker.
Enjoy!
Farhana
Don't forget, caring is sharing!

The Spritz "Eid" Cookies

How is everyone's Eid prep going? My friends sent me invites months ago, so I'm taking it easy this time. Eid is all about traditions, my traditions are a hodgepodge of multiple cultures. We make desi misthi's like samai and kheer, but I also bake cookies, something that comes from the South African in me.


Last Eid, I tried to press shortbread cookie dough through my cookie press, lets just say that I nearly broke my press. So this time around I started experimenting with spritz cookies. What did I learn? They don't require chilling, bake super quickly and don't break the cookie press. Will I be making these again yes! 


Did I mention that they are really easy to make? Well go ahead and add these to your Eid table, there's still time :)


Spritz Cookies

Recipe adapted from Joy of Baking

Ingredients
1 cup butter (2 sticks), melted
1/2 cup granulated white sugar
2 egg yolks
2 tsp vanilla extract
2 cups flour

Method
1. Preheat the oven to 350*F and place cookie sheets in the freezer.
2. Beat the melted butter and sugar together for 2 mins with an electric mixer.
3. Add in the eggs, beat another minute.
4. Beat in the vanilla extract.
5. Lastly, add the flour. Beat until the dough is completely incorporated. Make sure to scrap the bowl in between.
6. Set up your cookie press, fill it with dough and shoot away!
7. Bake in preheated oven for 6-7 mins until the edges start to brown.
8. Cool on a wire rack for 5 mins before transferring them of the cookie sheet to completely cool before packing/serving them.

(Check out my instagram for packing ideas)

Enjoy!
Farhana

#craftingnotcoding: Eid Card

Welcome back! School work is picking up, so today's post is quick and simple. I recently started sending out Eid cards for Eid ul Fitr, but they have been quick prints from Costco. I'm hoping that next year I can make them myself, but I'll have to get a head start. So how better than to start designing a few. And here's one that you can make for Saturday.


What you need:


- white card base
- scissors
- glue
- washi tape
- die cuts in coordinating color

What to do:
1. Cut strips of washi tape and layer over the front of the card.


2. Glue the dies over the washi taped area.
3. Your done! Well you still have to write a message inside and mail it :)

Happy Crafting!
Farhana  

Chevron and Polka Dot Birthday Banner

It is Friday yet? Well we all know that I am the queen of procrastinating, so obviously I am not studying for my midterm tomorrow and instead over here on the blog. Kidding! I am probably still in my PJ's jumping from slide to slide right now, but I didn't want you to miss me, so i wrote up this super short post and scheduled it :)

FYI : I am about 6 weeks away from summer break!! I am so looking forward to some down time with my family, friends and lots of time in the kitchen and craft-room (by craft-room I mean moving all my craft stuff to the front of the TV).


I made this banner for a friend's husband a while ago (I never blog on time!), she really liked my Eid Banner and wanted me to recreate it using a combination of chevron and polka dot paper. I think it turned out cute, except that the silver glitter paper doesn't photograph well.

Here's what you need :


- chevron paper
- polka dot paper
- glitter paper
- matching ribbon
- adhesive of choice (I like using tacky glue for the letters and double sided tape for the rest of it)

How much paper do you need? What dies? Head over to my Eid Banner post and find out :)

 Happy Crafting!
Farhana   

Don't forget, caring is sharing!

I opened an etsy store!

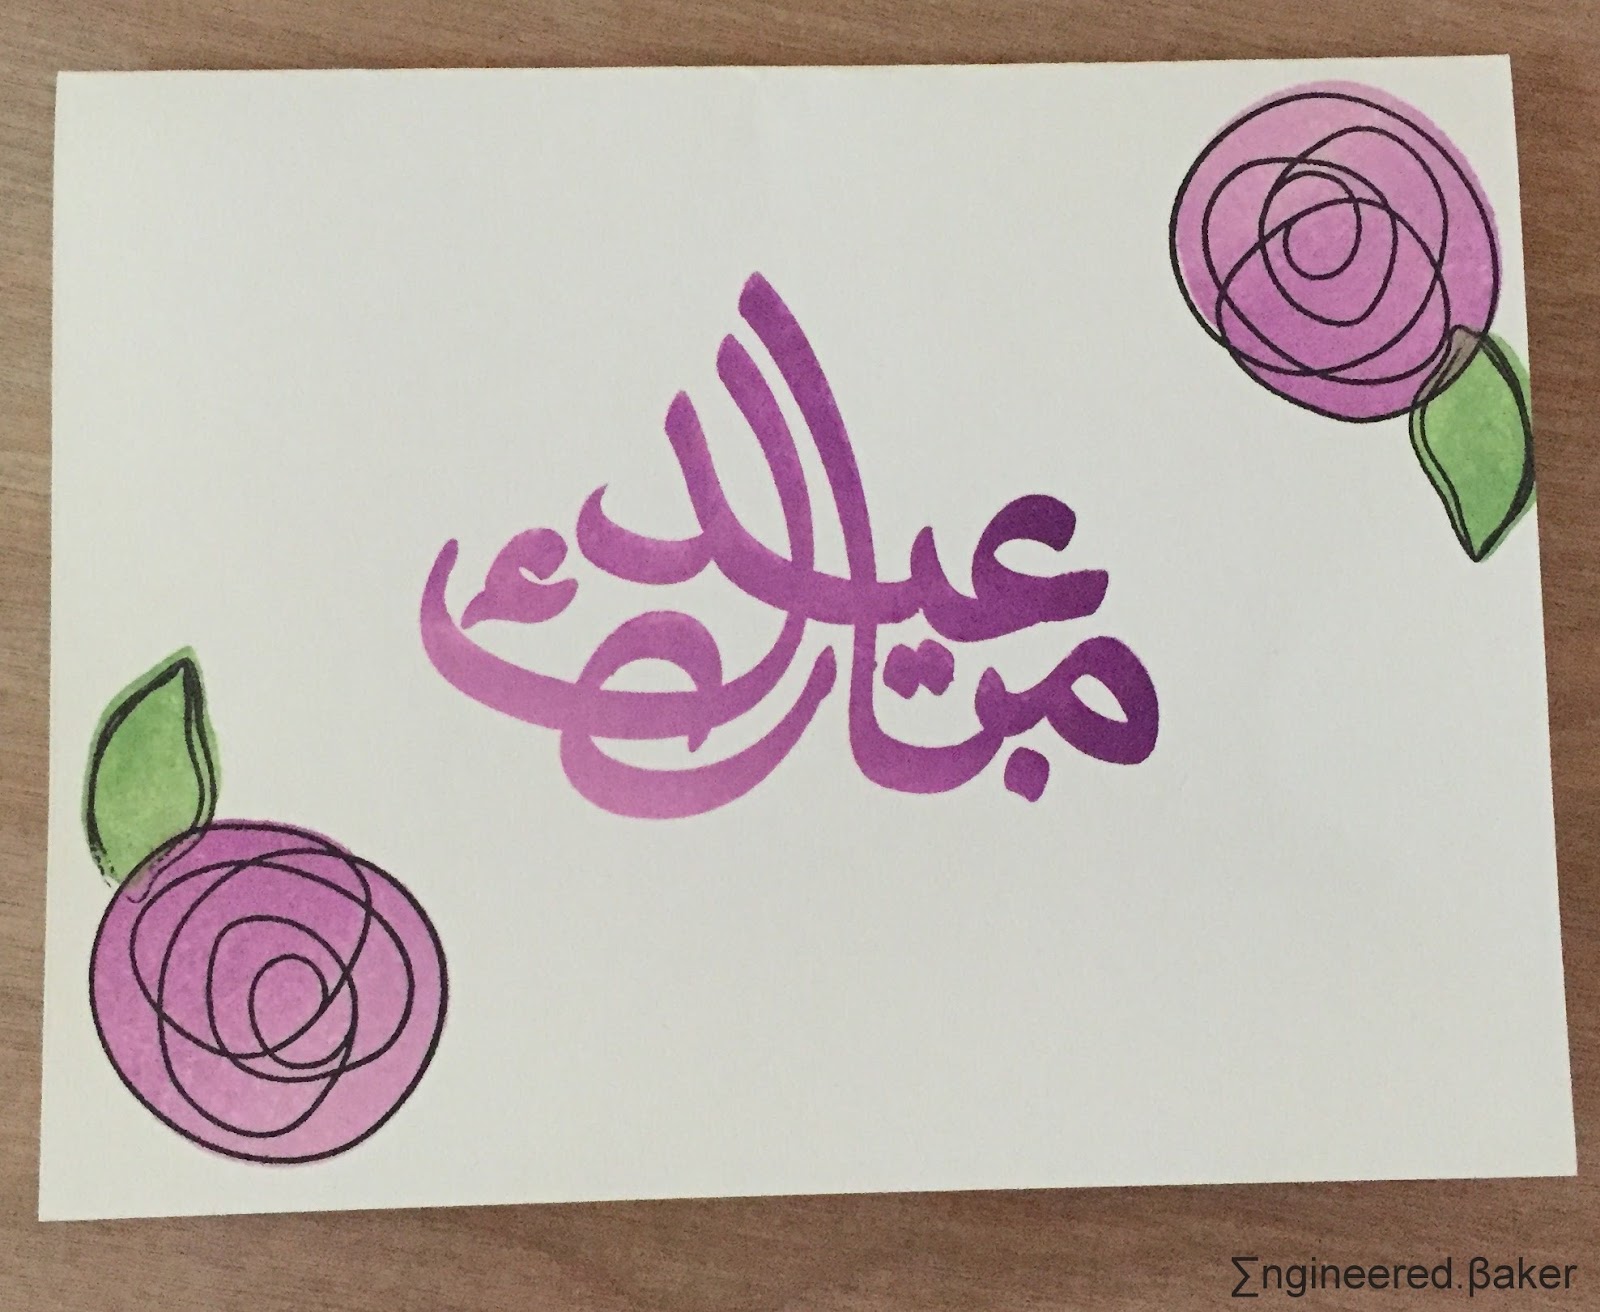
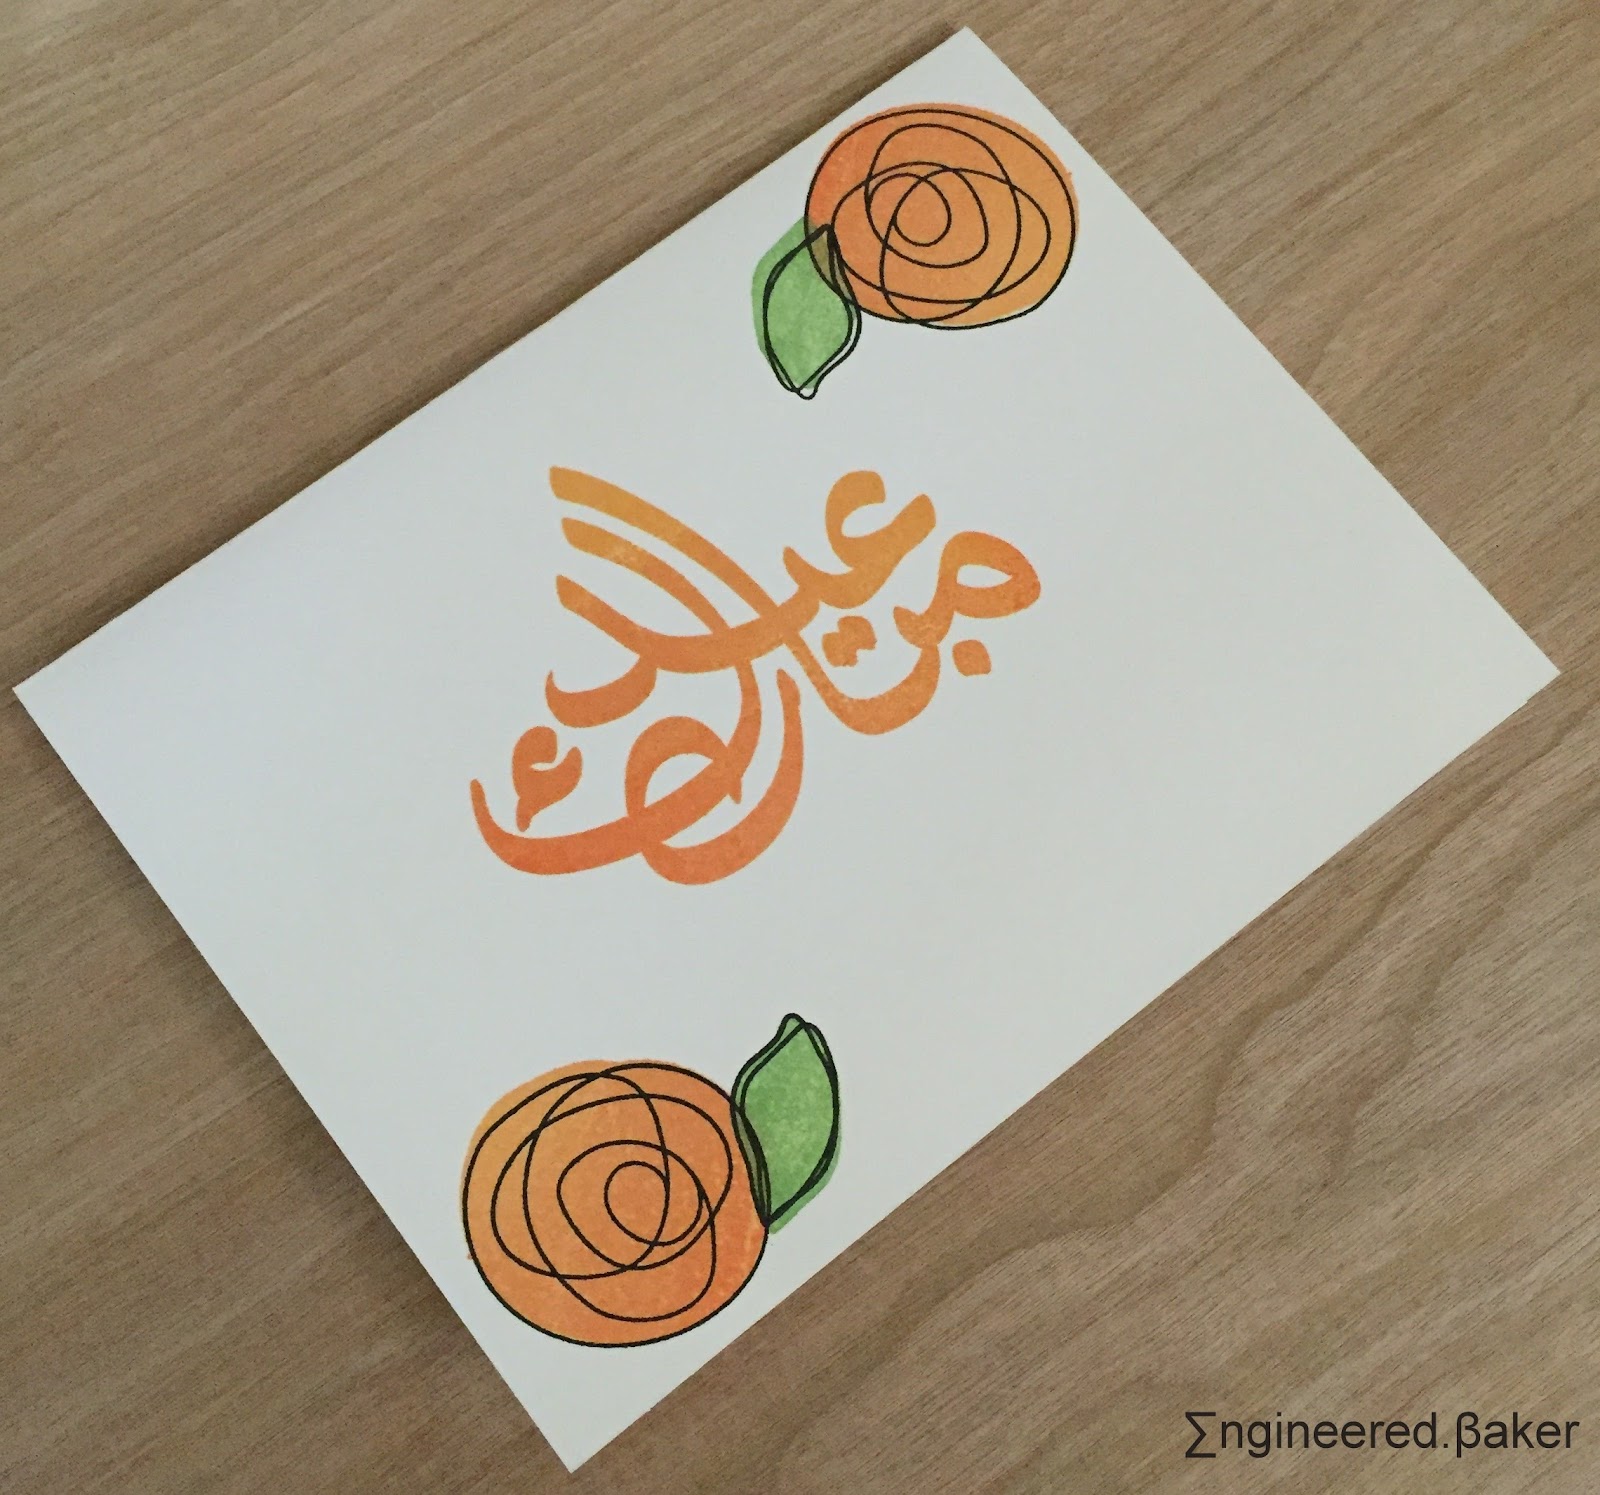
The best type of friends are friends that believe in you! And thanks to many of them encouraging and appreciating my handmade cards, I took the leap and opened an Etsy store, CardsAndClips. Hopefully I can keep listing more cards and you can help spread the word about my very tiny shop!

For now, being the month of Ramadan, I thought that an Eid card would be a great first listing! As I also love to blog and share the cards I make, I thought that I would share pictures here to, in case someone is inspired to make their own cards this Ramadan.


Supplies used:

  1. white card stock // Craft Warehouse
  2. Hero Arts Ombre Inks Pads // Impress Cards and Crafts
  3. memento black ink // Amazon
  4. MFT LJD Circle Scribble Flowers // Craft Warehouse
  5. Altenew Eid Greetings
Happy Crafting!
Farhana   

Don't forget, caring is sharing!

#craftingnotcoding: Eid Banner

I really didn't mean to be away for so long, but took me a little longer than expected to get back in track after vacationing (why can't life be all vacation and blogging!). Now that I am back at school, the posts will be less than the past few weeks, but I'll do my best to maintain some sort of schedule!


With Eid coming up, a lot of this weekend for me was making grocery list, cleaning out the freezer and making a menu. But first things first, a little decor for the house, and what's better than a banner from the die cut center at Ben Franklin Crafts and Frames.


The number of sheets you'll need depends on the number of characters in your banner. Use the table to figure out how many sheets you need to get.

Shape
Die cut Number
Paper Size
Number of die cuts
Pennant
SJ25
12 x 12
2
Pointy Edge Circle
157
12 x 12
9

I used (all 12 x 12)
- 1 purple sheets
- 6 blue sheets
- 2 yellow sheets.

you will also need some
- glue
- matching ribbon
- tape

the dies you use are
- pennant = SJ25
- circle = 157
- 2 inch "shout out" letters

What to do? Easy, just die cut and then glue the layers together. Once the glue has dried, stick the ribbon on to the inside of the folded pennant, using tape to string the banner together.

(Don't know how to die cut, the ladies at Ben Franklin are super helpful and are always glad to show you how!)

Happy Crafting!
Farhana    

The "Hamsa" Cookie

Am I back on the same day? Let's just say that I am trying to play catch up as I have a bunch of products to share with all of you. Dalia of Once Upon a Eid was so kind as to send me a box full of baking goodies, beautifully and creative goodies! I am so excited to use them and play around with the different cutters!


I was hard to decide which cookie cutter to use first, then I noticed the hamsa hand cutter (I didn't even know what a hamsa hand was till as while ago). It even came with matching stencils. Stencils seem to be the new thing in cookie decorating, I don't know why I waited this long to try them out.


I am not a fan of too much frosting on cookies, its a tad bit too sweet for me. So I decided to go with a chocolate cookie and white royal icing. This way I spent more time figuring out the technique, also because I didn't do a base frosting layer, drying time was almost nothing!


When making the royal icing, I made it really think, so that it was easily spreadable. Then I placed the stencil on the cookie, spread the icing with a spatula and scraped the icing off using a pan scraper. Then I carefully "peeled" off the stencil leaving an almost a clean image that dried within minutes. It took a bit of practice, but I eventually got it! Can you tell which one I was the first one I tried?


I am in love with the stencils and how easy the technique is! I see myself using this set A LOT! Thanks again to Dalia for such a lovely product!


As I mentioned, the cookie cutter and the stencils come as a set, but you can easily pipe designs onto the cookie, I'm thinking cookies for a henna party, maybe?


Come back again tomorrow when I will be sharing another set of stencils that I received from Once Upon a Eid, and another technique of using them.

The "Hamsa" Cookie

Ingredients
a batch of chocolate cookie dough
a batch of royal icing
spatula and pot scraper

Method

  1. Roll out and cut the cookie dough using the hamsa hand cutter. Bake and cool.
  2. While the cookies are baking and cooling, make the icing, Make sure that it is very stiff and spreadable.
  3. Once the cookie has cooled, lay the stencil on the cookie and spread the royal icing on the stencil with a spatula, and immediately scrap it off. Then carefully lift the stencil off the cookie.
  4. Allow the icing to dry for a few minutes before serving or storing.

Enjoy!
Farhana

Don't forget, caring is sharing!

Eid Mubarak

Wishing you all the best! Thanks for always reading my blog :)

Farhana

#footballsunday 4.0 : Seahawks (Football) Cupcake Liners and Toppers

Hope everyone had an awesome Eid with friends, family and lots of food! I know I did :) Now, that all of that is over, I'm trying to get back into my regular schedule, starting with catching up on Seahawks posts! We are in week five, and I'm counting down the days to this coming weekend when I get watch the game live! Can't wait!!

This week you can head down to Ben Franklin Crafts and Frames and make these super easy cupcake liners and toppers to decorate your cupcakes. (Not a baker, just use them on store bought cupcakes to add a personal touch :) )


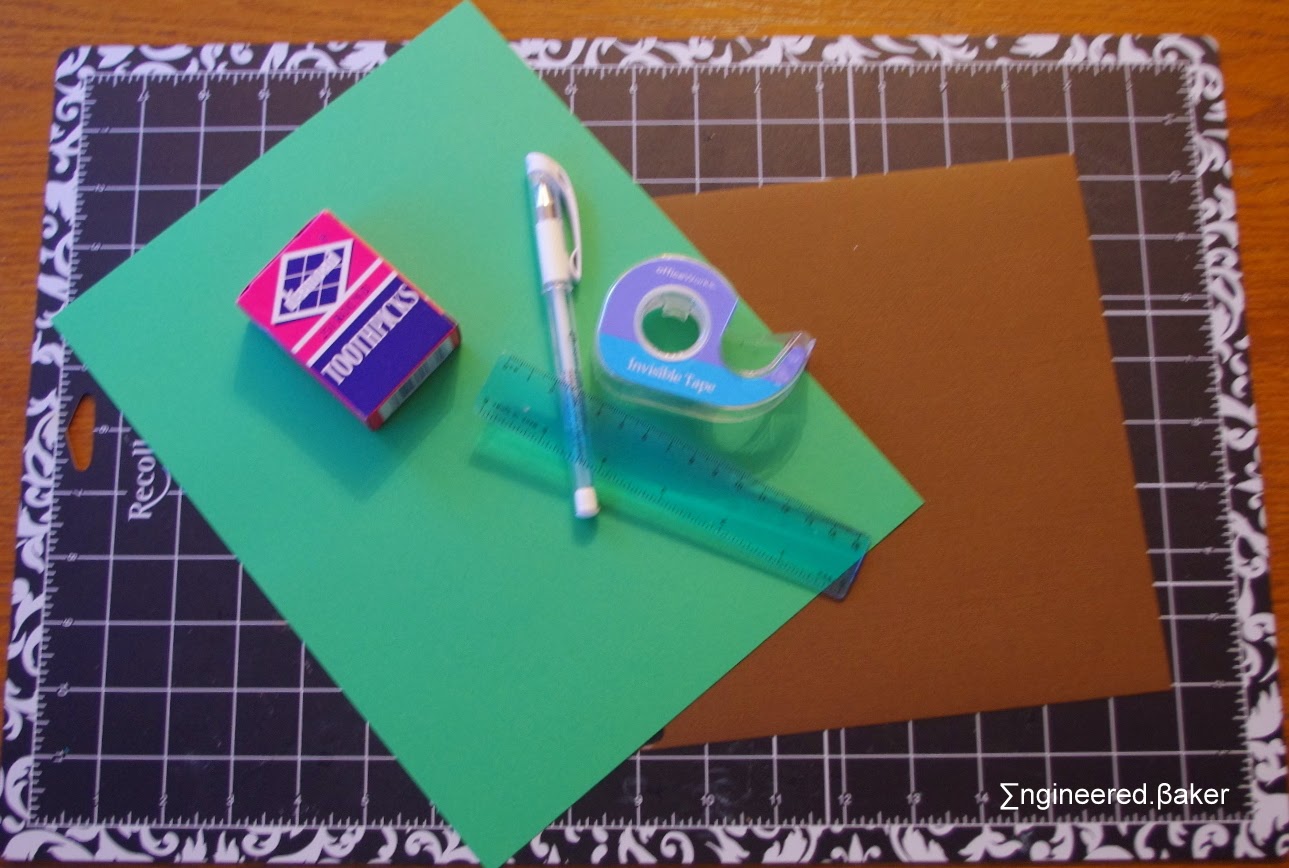
What you need:


- one 8 x 11 1/2 sheet of textured brown paper
- three 8 x 11 1/2 sheets of green paper
- toothpicks
- tape
- ruler
- white ink pen or pencil

What to do:
1. Die cut the footballs using die J151 and the cupcakes liners using die 528, you will one need a third sheet of paper for 12 footballs and one 8 x 11.5 sheet can be used to cut 4 cupcake liners.


2. Once you have your cutouts, highlight the footballs with the white pen.


3. Tape a toothpick to the back of the footballs.


4. Using the ruler and white pen, draw lines on the green liners and then label with yard line numbers.


5. You're ready to decorate your cupcakes!

Check out the page I created for more football themed desserts and crafts!

Go Hawks!
Farhana

Guest Post: Olive Oil Cake with Grapefruit Glaze

Hey all! Back, on back to back days, umm not really, today I have friend, Adeeba whom I mentioned in this post a while back, sharing a simple yet delicious treat that you can make for Eid! Who doesn't love a little dessert (or a lot) on their tables during the festivities. So please join me in welcoming Adeeba.

When Farhana invited me to write a post for her blog, I was truly honored. I know her for about 2 years and since then we have become best buddies. We always made plans before and after our school time. We planned pinterest parties on the weekends.  I can go pages after pages of crafty things we did together.  Let’s move on to the recipe now….

I saw this olive oil cake on Master Chef season 5 finale when one of the contestants baked it. I knew I wanted to bake the cake that instant. So I started to search for recipes and decided how to proceed. So here’s the ingredients, followed by the procedure.


Olive Oil Cake with Grapefruit Glaze

Adapted from Baked the Blog

Ingredients
For the cake:
3/4 cup extra virgin olive oil
2 eggs at room temp
Zest of one grapefruit
1/4 cup of fresh grapefruit juice
1 cup plain Greek yogurt at room temperature
1 cup super fine sugar
2 cups all-purpose flour
3 teaspoons baking powder 


For the glaze:
½ cup powdered sugar
1 tablespoon grapefruit juice

Procedure:
1. Preheat your oven to 350F. grease a pan of your choice and set aside. I used a springform pan here but you can use whatever pan you like.
2. Separate the eggs into whites and yolks.
3. Sift together the flour, baking powder and salt.
4. Now in a clean bowl beat the egg whites with a whisk attachment until soft peaks form. Then add ¼ cup sugar to the whites and beat until stiff peaks form. Put the whites aside in a bowl. 
5. Now beat the oil and sugar together for about a minute. Add the yolks and beat in for another minute.
6. Beat the vanilla, juice, zest in the yolk mixture. Add the yogurt and flour. Keep beating until everything is mixed well.
7. Lastly add the egg white and fold it in the flour mixture with a spatula. Do not over mix it.
8. Pour the batter in the pan and put it in the center of rack of the oven.
9.   Bake for about 30-35 minutes until a toothpick comes out clean.

After getting the pan out of the oven put it on a cooling rack. Try taking the cake off the pan after it has cooled slightly. 


After the cake has cooled completely, it is time for the glaze. Mix together the powdered sugar and the juice until a smooth paste forms. Now with a fork or hand whisk, put the glaze on the cake. After that you can do any decoration you want, I did a simple design with princess edition jelly beans.


Enjoy this olive oil cake and keep reading Farhana’s blog :)
Cheers!!!

Adeeba 

Thanks for sharing Adeeba! Hope you come back with more treats soon :)

Enjoy!
Farhana

#craftingnotcoding: The Crafty Card Class [April 2015]

I apologize for the delay in posting the April Crafty Card Set, the past few weeks have been crazy, and a lot of my free time was dedicated to making card for my very first theme week. It was so much fun that I have started thinking about another one for Father's Day! But that will have to wait till I am done with school! Not that I am counting, but its just 4 weeks away :D


Getting back to the cards, April had a really cute collection with a lot of kraft and gold, a combination that I am in love with. Maybe for Eid cards?

Let's get started with some details on the card! First up a birthday card. Once that is not too "flower-y" and can actually be given to a guy! Plus a great why to use your scraps!


This card starts off with kraft card base, and different sized triangles from your scraps. The sentiment here is a sticker, you can easily use a stamp and change it up to meet the occasion you need. Next you need to line up and layer the triangles, and stick them on above and below the sentiment.

Next up is a "circle and twine" card, its a another great way to use up your scarps and a sentiment of choice can easily be added inside.


For this card, you can use a circle punch or die to cut out the circles and then stick when on using foam dots for a bit of dimension (we all now that I love me some dimension!). But if you wish to add the twine, then remember to wrap it around and tie know before attaching the circle to the card base. If your circle is hanging off the edge of the card base, just trim it using a paper of scissors!

I just love this just cause of the golden twine pair with the gold foil paper! And making it could not be easier!


So to make this, cut strips of the golden chevron, glue it down, add the star stickers and finally wrap the twine around the card stock before attaching it to the card base.

This one is such a cute note card and such a creative use of a brown bag (and it has gold polka dots!)


For this, the "envelop" is already made, and for the notecard, layer a kraft sheet with a smaller white cardstock. Add a strip of hello paper at the bottom and a little ribbon notch that will let you pull it out of the envelop.

Save the best for last right? Well in this case, I saved my favorite for the last! One cannot go wrong with washi tape and rhinestones!


To make this card, layer some white card stock on to a colored card base. On the white paper, add strips of washi tape, scatter some rhinestones and add the hello sentiment. This "hello"  is a sticker, but you can also use die cuts.

Hope you enjoyed this month's cards, if you want try it out for your self, call up Ben Franklin and sign up for May's class! There is still time to sign up for tomorrow (May 15th 2015) or walk in and get the kit after :)


 Happy Crafting!
Farhana   

Don't forget, caring is sharing!

The Oreo Truffles

Lots of the blogs I follow seem to explode with recipes during the holidays, I on the other hand can hardly ever get near a computer to blog, I'm lucky if I can get a few decent pictures to use in a post later. Between Ramadan, Eid and crafting, not only have a not been blogging, I also seem to have forgotten that this is a baking blog!


Today's recipe is a dessert, but its a no bake dessert. This summer has been on the warmer side here in the PNW, so the less oven time, the better! This dessert is also very portable, so pack it up and head out to enjoy the weather!


I used regular Oreo's, but feel free to experiment with your favorite Oreo and leave a comment telling me how it turned out! I also like to change the sprinkles out to match the season or occasion, just to be fancy-shamcy. But you can also save some of the crushed cookies and sprinkle that on top.

The Oreo Truffle

Ingredients
18  OREO Cookies, finely crushed
4 oz. cream cheese, at room temperature
8 oz. semi-sweet chocolate, melted
sprinkles, optional

Extra Tools
wax paper
mini cupcake liners

Method
1. Mix cream cheese and remaining cookie crumbs until well mixed (you can use a kitchen aid or food processor)
2. Shape into 1-inch balls (you will get about 24). Dip into the melted chocolate, place on a baking sheet lined with wax paper. Top with sprinkles.
3. Place in the fridge for at least an 1 hour then place in cupcake liners before serving.

(See its that easy!!)

Enjoy!
Farhana